punktde / mautic
This Plugin enables the usage of Marketing Automation Tool Mautic together with Neos CMS.
Installs: 95
Dependents: 0
Suggesters: 0
Security: 0
Stars: 4
Watchers: 7
Forks: 2
Open Issues: 2
Type:neos-package
Requires
- mautic/api-library: ^2.0.0
- neos/neos: ^4.0
This package is auto-updated.
Last update: 2024-12-29 06:14:27 UTC
README
This Plugin enables the usage of Marketing Automation Tool Mautic together with Neos CMS. Its key features are:
- Add Mautic Tracking in two easy steps
- Data Collection via Neos Forms & Neos FormBuilder Forms
- SEO friendly dynamic content
Installation
composer require punktde/mautic
Configuration
Configure Mautic
- Visit your Mautic installation and create a user for API.
- Enable API and HTTP basic auth. Optional: Be sure your Mautic installation is running on HTTPS for the sake of security.
- Skip this, if your website and Mautic are running on the same server:
- Enable CORS, add your site to
valid domains.
- Enable CORS, add your site to
Configure Plugin
Add the following configuration to your site's Settings.yaml
PunktDe:
  Mautic:
    mauticServer:
      url: https://mymautic.com
    mauticUser:
      username: mautic-api
      password:
Enable Tracking
-
Ensure you have entered the correct Mautic URL in your configuration.
-
Place Mautic tracking template at the bottom of your
<body>:mautic = PunktDe.Mautic:MauticTracking
Add this code to every page's fusion file you want to be tracked. If you want to track all pages, add this
piece to the Root.fusion or AbstractPage.fusion of your page.
Pass Information from Form to Mautic
Form in yaml format
To pass information from yaml forms to Mautic, you need to define which form elements should be taken into account. Add the following property to those fields:
mauticIdentifier: 'firstname'
Due to a bug in Mautic API, mauticIdentifier must be small case.
You also need to add the following finisher:
identifier: 'PunktDe.Mautic:UpdateUser'
An example form looks like this:
type: 'Neos.Form:Form'
identifier: 'form-identifier'
label: 'Blog comment'
renderingOptions:
  submitButtonLabel: 'Send'
renderables:
  -
    type: 'Neos.Form:Page'
    identifier: 'blog-comment'
    renderables:
      -
        type: 'Neos.Form:SingleLineText'
        identifier: 'name'
        label: 'Name'
        properties:
          mauticIdentifier: 'firstname'
        defaultValue: ''
finishers:
  -
    identifier: 'PunktDe.Mautic:UpdateUser'
The value of mauticIdentifier must be a defined user field (so called custom field) in Mautic. You can search, edit or create new
custom fields to fit your needs.
Form in FormBuilder Format
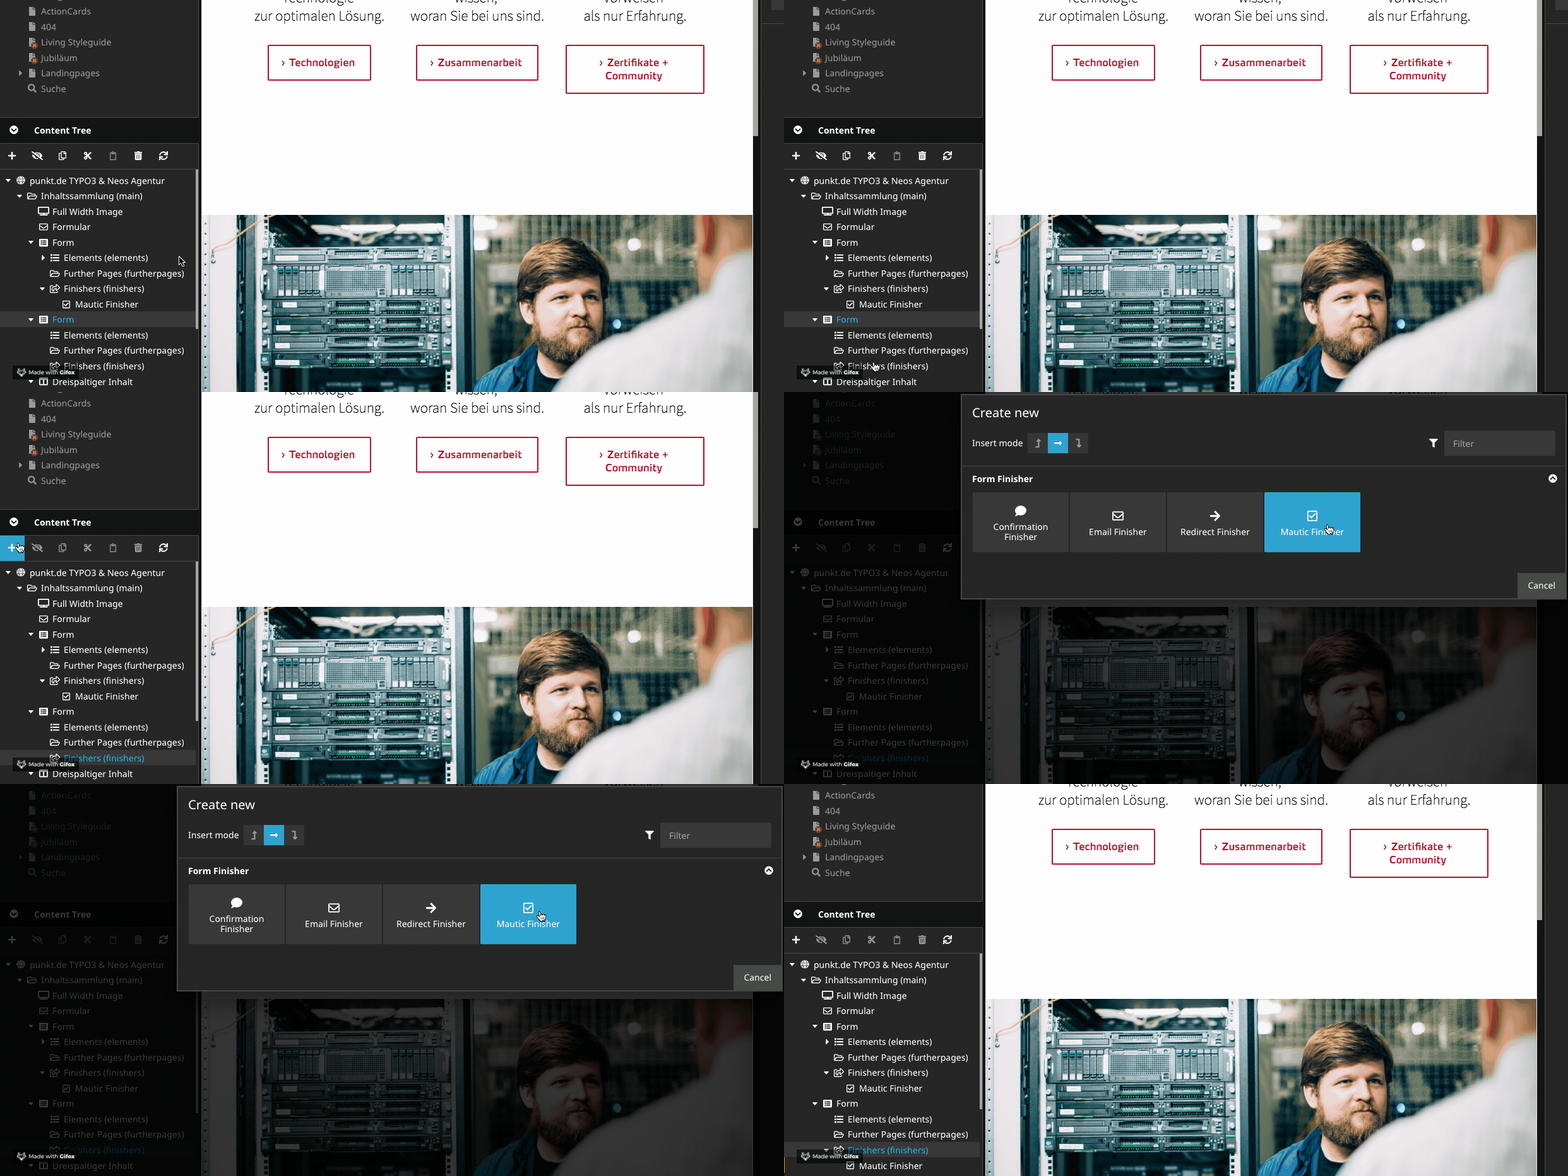
Forms created by FormBuilder require the editor to enter the Mautic identifier in the Neos backend. This can be achieved by selecting the form element and setting up the value in the settings bar on the right side of your UI.
Due to a bug in Mautic API, mauticIdentifier must be small case.
You must also register the Mautic finisher for this form.
Dynamic Content
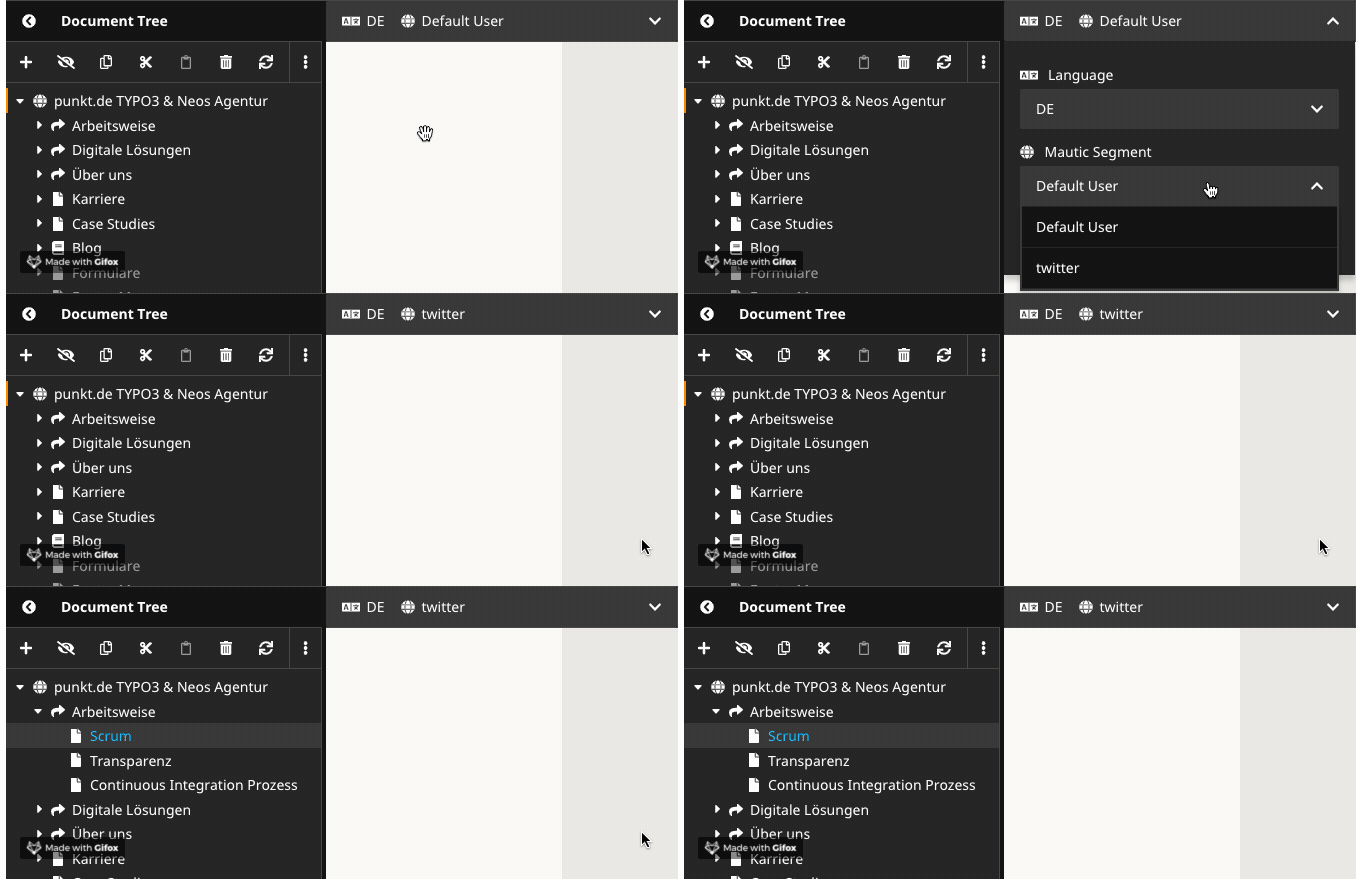
You can show a different content dimension to users belonging to different Mautic segments.
-
Define segments in your
settings.yaml. Use the same name for your Neos dimensions as well as your mautic segments.Neos: ContentRepository: contentDimensions: mautic: label: 'Mautic Segment' icon: 'icon-globe' default: defaultUser defaultPreset: defaultUser presets: all: null defaultUser: label: 'Default User' values: - defaultUser uriSegment: '' twitter: label: twitter values: - twitter uriSegment: twitter
-
You can combine multiple dimensions (e.g. language) without problem.
-
Visit the backend, change the dimension and edit content. Publish it.
Social Media Tracking
It is possible to track users coming from different sources using UTM-Tags. Just add any UTM Tag to your link before you post it on social media:
https://punkt.de/blog/post?utm-source=AnySourceName
When a user has UTM-Tags and submit a form, this information will also saved in Mautic.


