tattali / calendar-bundle
Provides event calendar for your Symfony 7+ project. Compatible with API like Google Calendar.
Fund package maintenance!
www.paypal.com/donate/?hosted_button_id=T2QGPQVMQFU5U
Installs: 378 206
Dependents: 2
Suggesters: 0
Security: 0
Stars: 149
Watchers: 11
Forks: 22
Open Issues: 5
Type:symfony-bundle
Requires
- php: >=8.2
- ext-json: *
- symfony/dependency-injection: ^7.0
- symfony/event-dispatcher: ^7.0
- symfony/framework-bundle: ^7.0
Requires (Dev)
- friendsofphp/php-cs-fixer: ^3.65
- phpstan/phpstan: ^2.0
- phpunit/phpunit: ^11.2
- symfony/dotenv: ^7.0
- symfony/phpunit-bridge: ^7.0
- symfony/yaml: ^7.0
Suggests
- doctrine/mongodb-odm-bundle: To support MongoDB.
- symfony/orm-pack: To support Doctrine ORM and Migration.
README
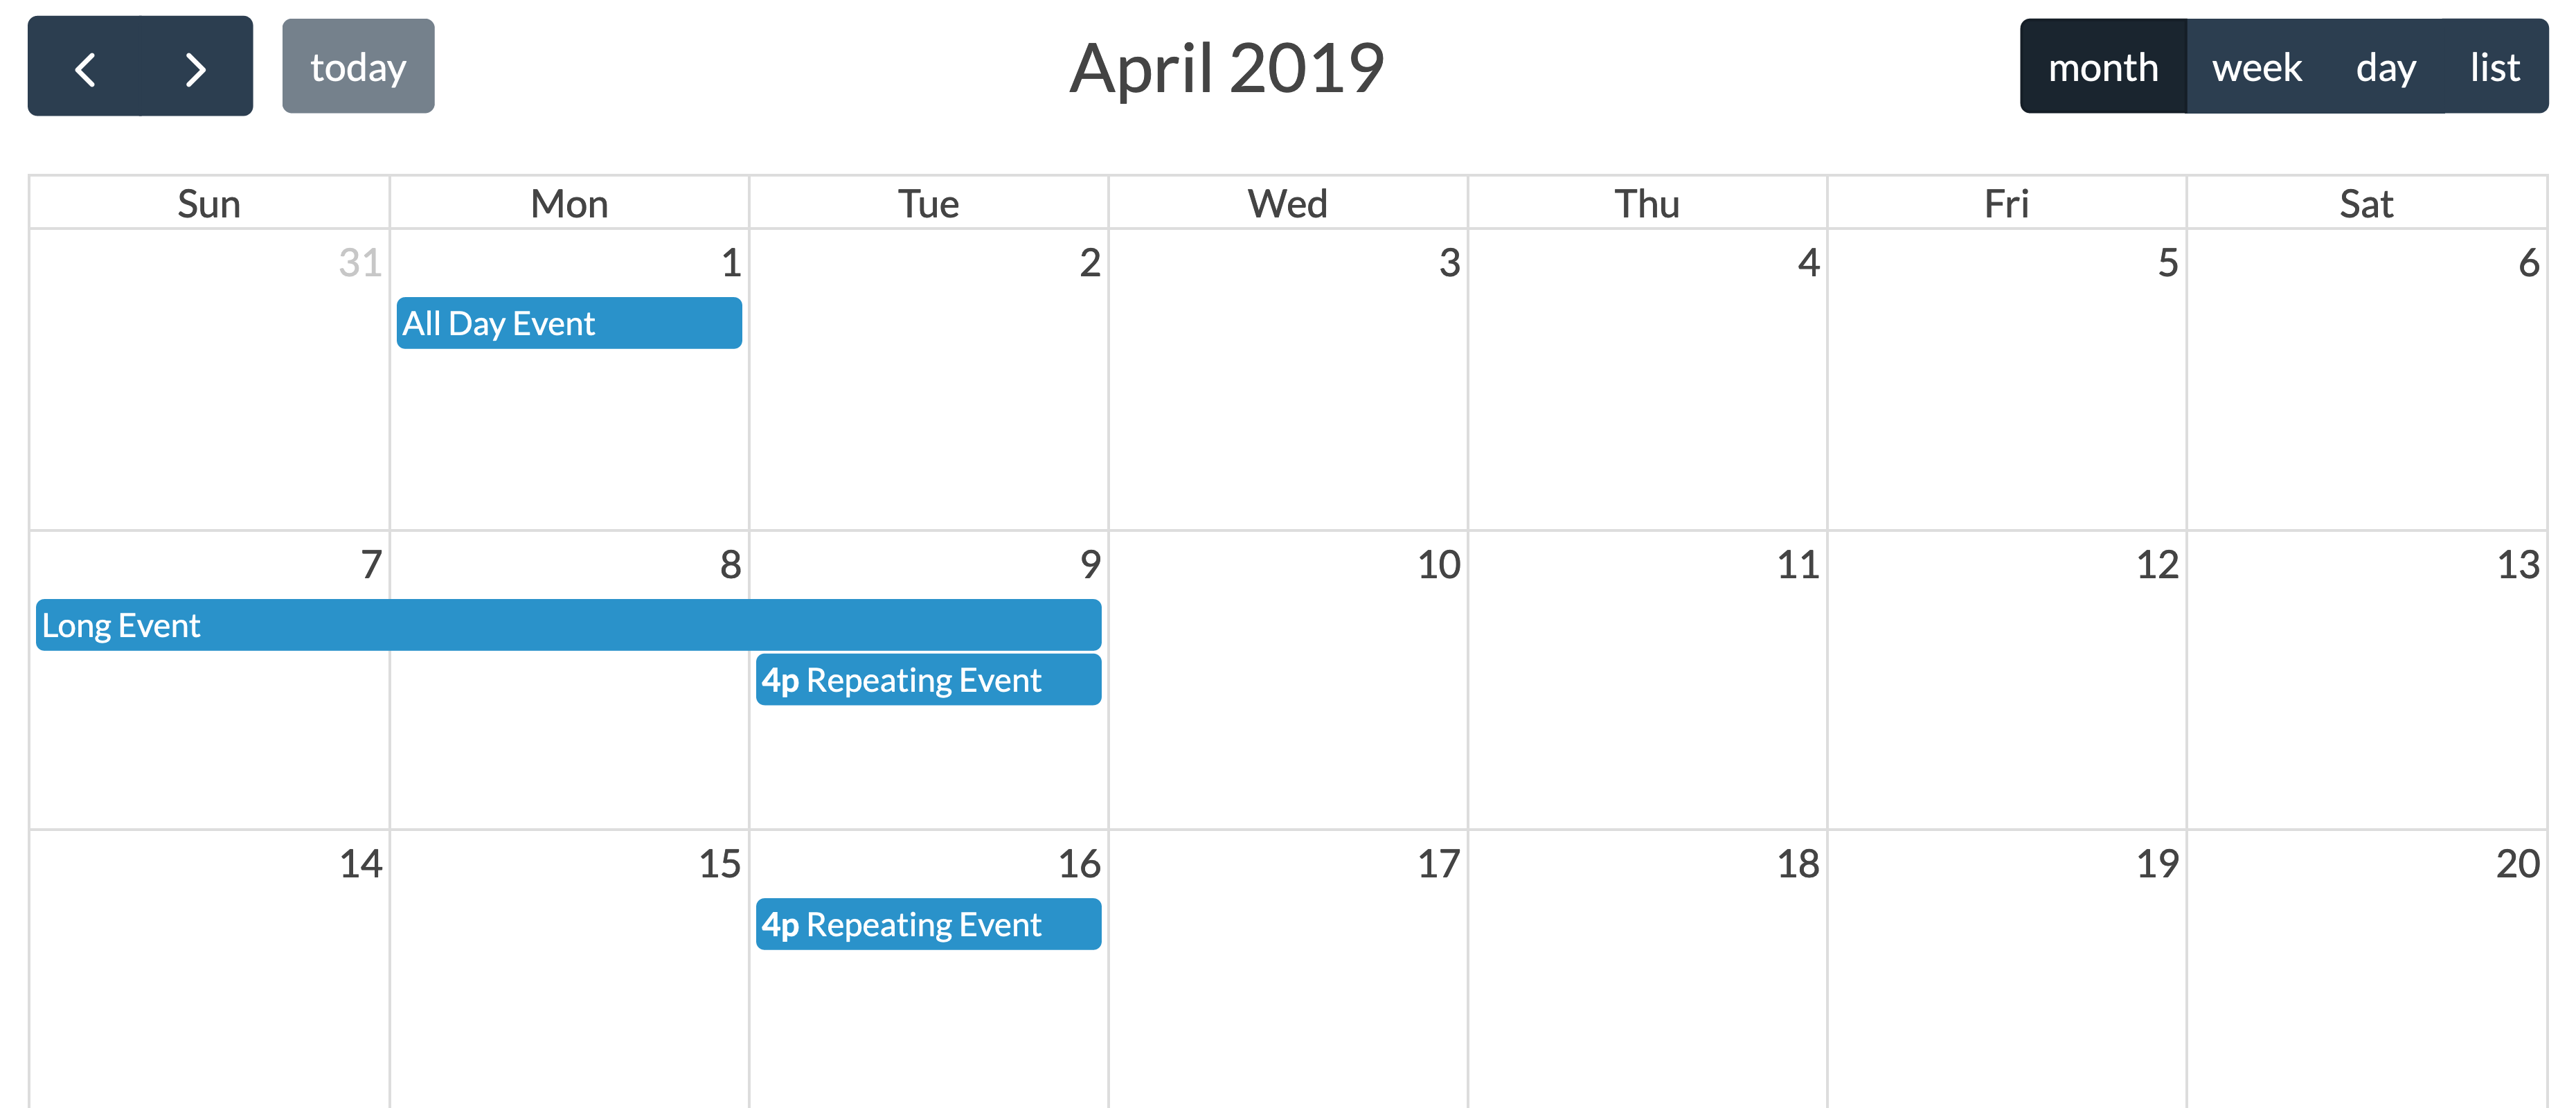
This bundle allow you to integrate FullCalendar.js library in your Symfony 5.4 to 7 project.
Documentation
The source of the documentation is stored in the src/Resources/doc/ folder in this bundle
- Link the calendar to a CRUD and allow create, update, delete & show events
- Webpack Encore and fullcalendar.js
- Multi calendar
Installation
- Download CalendarBundle using composer
- Create the subscriber
- Add styles and scripts in your template
1. Download CalendarBundle using composer
composer require tattali/calendar-bundle
The recipe will import the routes for you
Check the existence of the file config/routes/calendar.yaml or create it
# config/routes/calendar.yaml
calendar:
    resource: '@CalendarBundle/Resources/config/routing.yaml'
2. Create the subscriber
You need to create a subscriber class to load your data into the calendar.
This subscriber must be registered only if autoconfigure is false.
# config/services.yaml
services:
    # ...

    App\EventSubscriber\CalendarSubscriber:
Then, create the subscriber class to fill the calendar
See the doctrine subscriber example
// src/EventSubscriber/CalendarSubscriber.php
<?php

namespace App\EventSubscriber;

use CalendarBundle\Entity\Event;
use CalendarBundle\Event\SetDataEvent;
use Symfony\Component\EventDispatcher\EventSubscriberInterface;

class CalendarSubscriber implements EventSubscriberInterface
{
    public static function getSubscribedEvents()
    {
        return [
            SetDataEvent::class => 'onCalendarSetData',
        ];
    }

    public function onCalendarSetData(SetDataEvent $setDataEvent)
    {
        $start = $setDataEvent->getStart();
        $end = $setDataEvent->getEnd();
        $filters = $setDataEvent->getFilters();

        // You may want to make a custom query from your database to fill the calendar

        $setDataEvent->addEvent(new Event(
            'Event 1',
            new \DateTime('Tuesday this week'),
            new \DateTime('Wednesdays this week')
        ));

        // If the end date is null or not defined, it creates a all day event
        $setDataEvent->addEvent(new Event(
            'All day event',
            new \DateTime('Friday this week')
        ));
    }
}
3. Add styles and scripts in your template
Include the html template were you want to display the calendar:
{% block body %}
    <div id="calendar-holder"></div>
{% endblock %}
Add styles and js. Click here to see other css and js download methods, you can also found the plugins list
{% block javascripts %}
    <script src="https://cdn.jsdelivr.net/npm/fullcalendar@6.1.11/index.global.min.js"></script>
{% endblock %}
Basic functionalities
You will probably want to customize the Calendar javascript to fit the needs of your application. To do this, you can copy the following settings and modify them by consulting the fullcalendar.js documentation.
document.addEventListener('DOMContentLoaded', () => {
    const calendarEl = document.getElementById('calendar-holder');

    const calendar = new FullCalendar.Calendar(calendarEl, {
        defaultView: 'dayGridMonth',
        editable: true,
        eventSources: [
            {
                url: '/fc-load-events',
                method: 'POST',
                extraParams: {
                    filters: JSON.stringify({})
                },
                failure: () => {
                    // alert('There was an error while fetching FullCalendar!');
                },
            },
        ],
        headerToolbar: {
            start: 'prev,next today',
            center: 'title',
            end: 'dayGridMonth,timeGridWeek,timeGridDay'
        },
        timeZone: 'UTC',
    });

    calendar.render();
});
You can use Plugins to reduce loadtime.
Troubleshoot AJAX requests
- To debug AJAX requests, show the Network monitor, then reload the page. Finally click on
fc-load-eventsand select theResponseorPreviewtab- Firefox:
Ctrl + Shift + E(Command + Option + Eon Mac ) - Chrome:
Ctrl + Shift + I(Command + Option + Ion Mac )
- Firefox:
Contribute and feedback
Any feedback and contribution will be very appreciated.
License
This bundle is under the MIT license. See the complete license in the bundle

